Debugging STM32 with PlatformIO
Let's debug the LED blink code using PlatformIO.
Debugging STM32
Debugging STM32 with PlatformIO is easy. You can set breakpoints, watch variables, and step through the code using the ST-LINK V2 programmer.
Prerequisites
In this tutorial, the following hardware is used:
Blackpill STM32 board
MCU: STM32F411CEU6
Board: WeAct Black Pill V2.0
Schematic
You can purchase a cheap clone Blackpill STM32 board under $4. You can use other STM32 boards, but you need to modify platformio.ini file and the LED pin number.
ST-LINK V2 Programmer
You need this to upload the firmware to the board and debug the code. You can purchase a cheap clone ST-LINK V2 under $5.
Installation
VScode with PlatformIO
You can install PlatformIO from the VSCode extension marketplace.
STM32CubeProgrammer
You need this to flash the firmware to the board.
Clone the repository
git clone --branch blackpill-led-blink-arduino https://github.com/yuichiroaoki/stm32-tutorial.git
cd stm32-tutorial
Quickstart
-
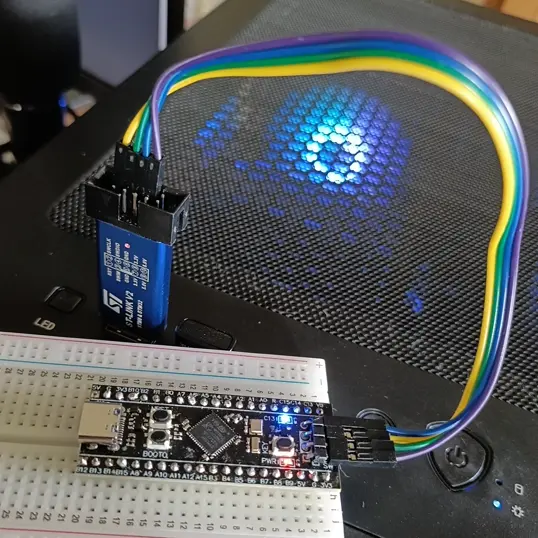
Connect the Blackpill STM32 board to the ST-LINK V2 programmer.

Connect the ST-LINK V2 programmer to the Blackpill STM32 board as shown in the image above. -
Connect the ST-LINK V2 programmer to your computer.
-
Open the project folder in VSCode.
-
Open
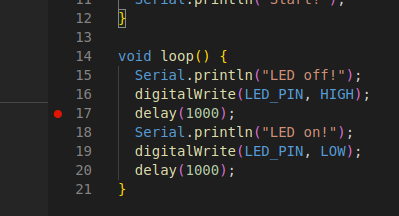
main.cppand click any line number to set a breakpoint.You can stop the program execution at the breakpoint and check the variable values.

-
Click
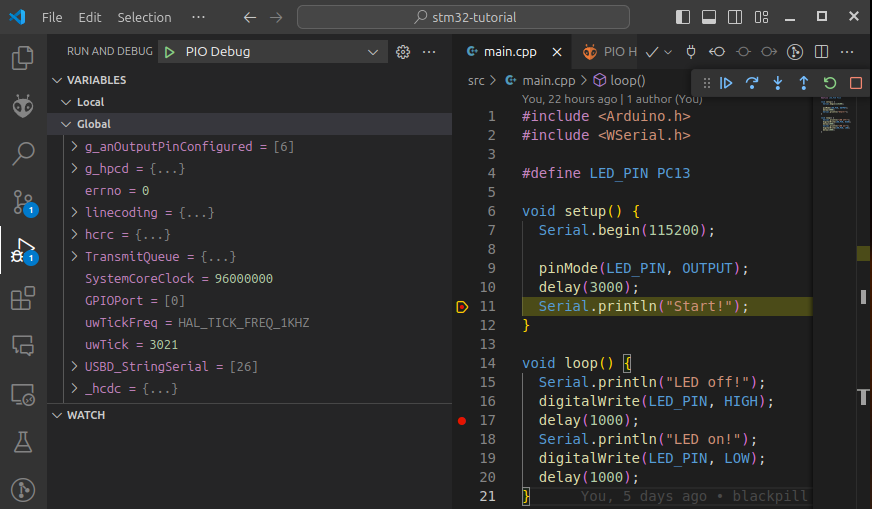
Run and Debugon the left sidebar and click on theStart Debuggingbutton to start debugging.The program execution will stop at the breakpoint, and you can check the variable values. For example,
SystemCoreClockis a variable that stores the system clock frequency. In the image below, the system clock frequency is 96 MHz.
In this tutorial, we used the Arduino framework to debug the STM32 board with PlatformIO. However, you can debug with STM32Cube as well.